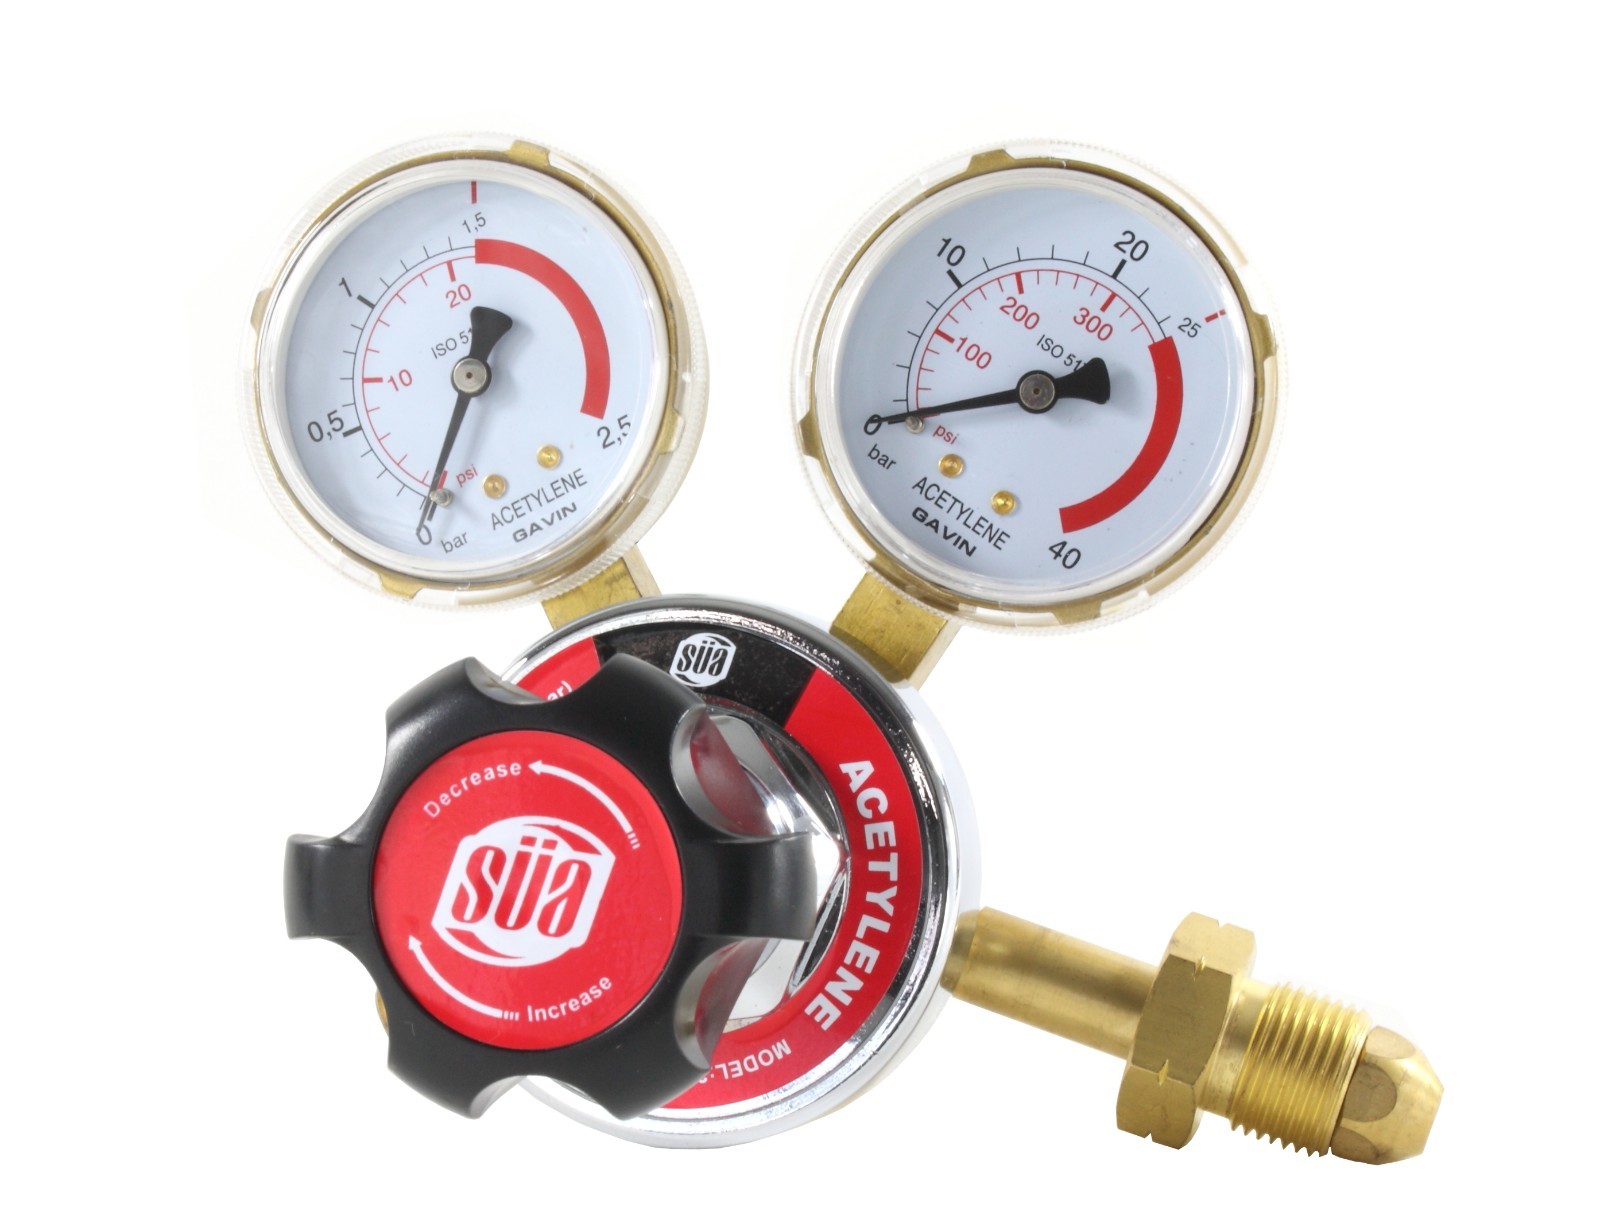
Oxygen Acetylene Torch Gauge Settings
Oxygen Acetylene Torch Gauge Settings. If the gasses are at significantly different pressures, it is a bear getting the flame mixture under control. You may want to run that up to 12 or 13, something like that, but for torch work, braising in the light, you usually don't need it much higher than that.
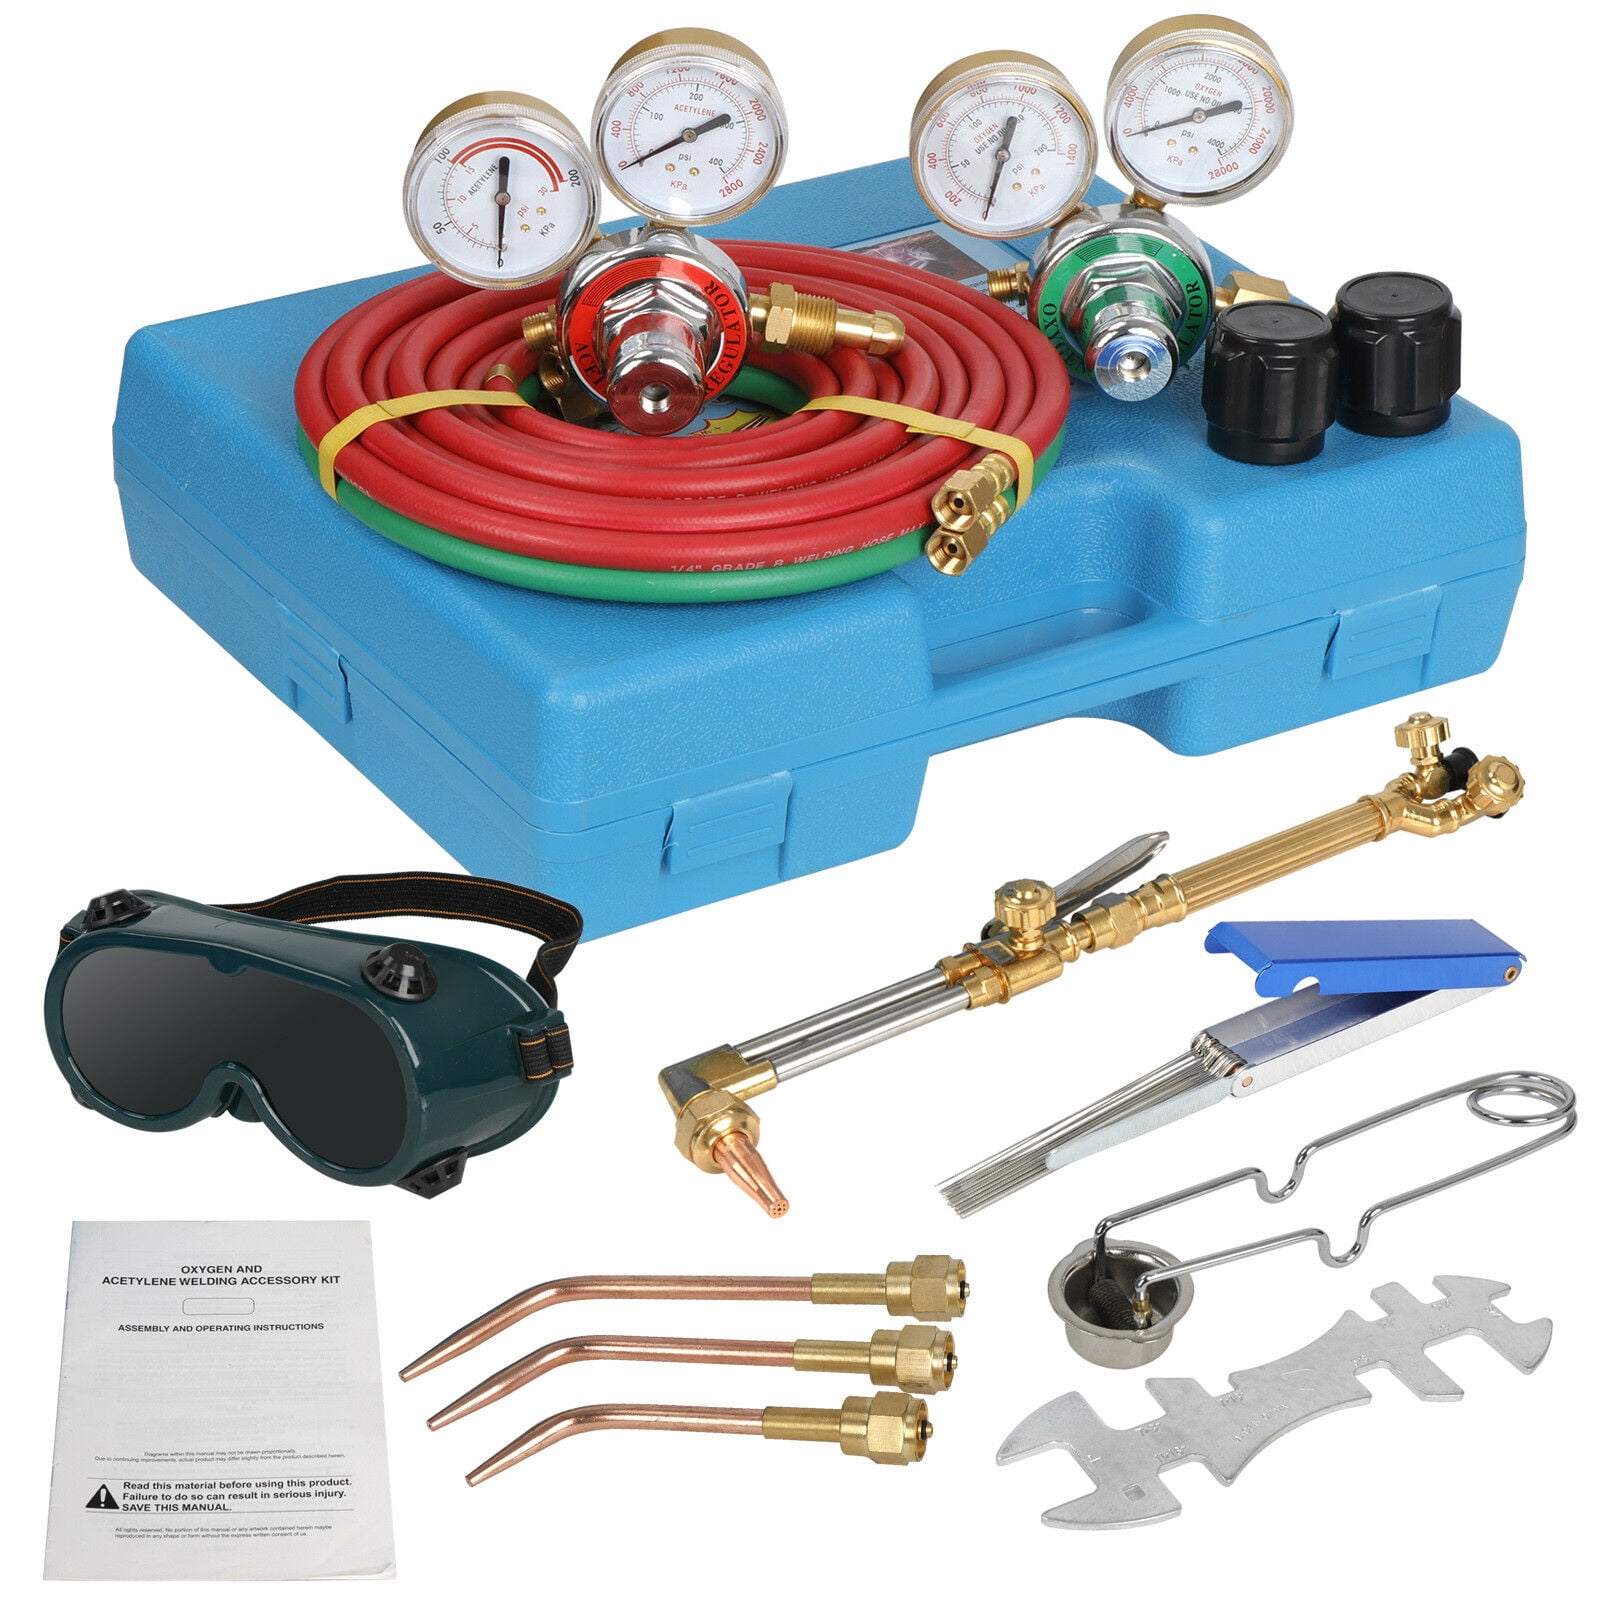
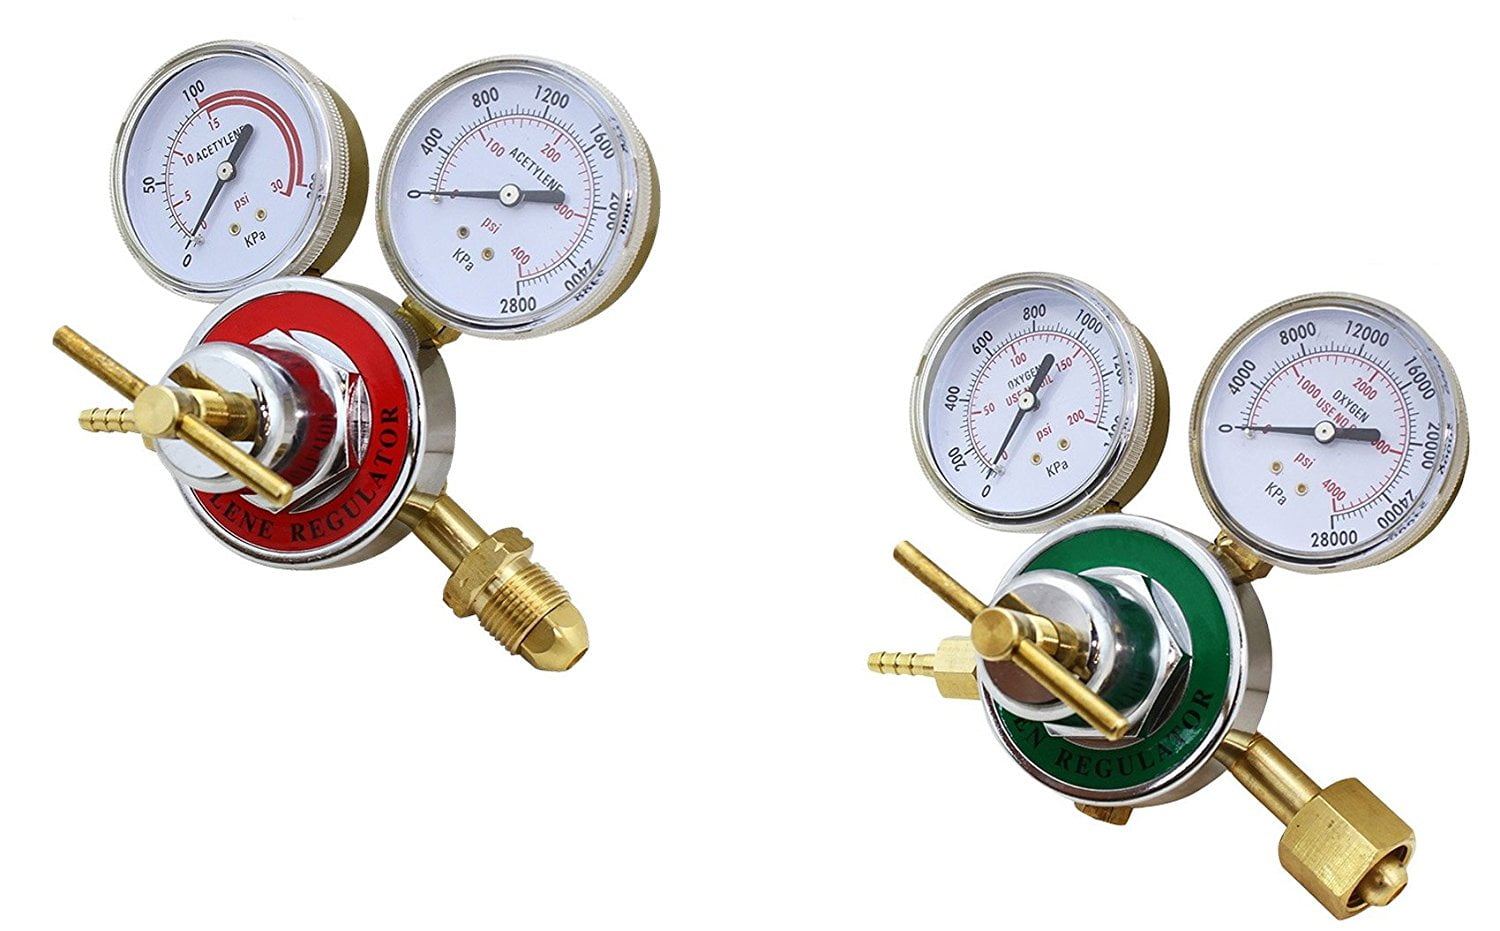
 OXY ACETYLENE WELDING SET TANKS, GAUGES, TORCH HEAD, HOSE from www.liveauctionworld.com
Open acetylene valve on the torch handle about ½ turn c. Do the same for the acetylene tank. Turn the adjusting screws on each tank out.

Stand away from front of regulator. Bump the oxy to 20psig or so for cutting most normal thicknesses of steel.

Keep your eyes on the pressure gauge and turn on the valve of the oxygen tank fully. Open oxygen valve on torch handle and adjust oxygen regulator to required delivery range;
.jpg)
The oxy setting should be the same as the acetylene setting for welding. Make sure torch valves are closed!

Remove the covers protecting the tank valves and attach the regulators to the valves. Close oxygen valve on torch handle;
For 3/16 to 1/4 thick steel using a #0 cutting tip, your settings should be about 30 psi for oxygen, and about 4 psi for acetylene. Keep your eyes on the pressure gauge and turn on the valve of the oxygen tank fully.
Attach the hoses to the regulators. Secure the oxygen and acetylene tanks in the torch cart.

For cutting everything is different and the oxygen pressure should be about 25 psi. At the end of the.

You may want to run that up to 12 or 13, something like that, but for torch work, braising in the light, you usually don't need it much higher than that. For 3/16 to 1/4 thick steel using a #0 cutting tip, your settings should be about 30 psi for oxygen, and about 4 psi for acetylene.

If there is too much acetylene, flame breaks away from the tip. You may want to run that up to 12 or 13, something like that, but for torch work, braising in the light, you usually don't need it much higher than that.

Open the valve a ¼ turn and do it quickly. Open the acetylene cylinder valve ¼ to ½ turn b.
If there is too much acetylene, flame breaks away from the tip. When shut down properly, this procedure can help detect even a minute leak in either the fuel or oxygen valve.
Torches with flashback arrestors require up to 25% more pressure as tip size increases (15 psi maximum acetylene. Remove the covers protecting the tank valves and attach the regulators to the valves.

For 3/16 to 1/4 thick steel using a #0 cutting tip, your settings should be about 30 psi for oxygen, and about 4 psi for acetylene. Connect the other end of the hoses to the torch handle.

Open the valve a ¼ turn and do it quickly. Control the adjusting screw of the regulator.
Stand away from front of regulator. Attach the hoses to the regulators.

You may need to regulate the flowing gas pressures to accommodate for hose size/length, safety devices and/or temperature. The bluish white outer envelope.
If the gas has out from nozzle you can use lighter and light the torch. The instructor turns the adjusting screw for the oxygen tank out.

Adjust regulator p/a screws to tip pressure settings. Slowly open the oxygen valve until the three (3) zones of the flame are visible:

To the hoses & torch high pressure gauge indicates the pressure from the tank pressure adjusting screw. ** for best results use appropriate capacity torches and 3/8 hose when using tip size 6 or larger.

Separately and slowly open the oxygen and acetylene cylinder valves. The third open valve in the torch, first acetylene after that you can open oxygen valve.
You Should Set Your Oxygen And Acetylene Gages After You Light The Torch And With The Trigger Pulled, Because That Is Your Actual.Open the valves of both tanks, but do it slowly and only one at a time. Turn the valve on the oxygen tank completely open. As with the previous recommendation, this applies to cutting steel that is less than 1.5 inch thick.
Separately And Slowly Open The Oxygen And Acetylene Cylinder Valves.You may want to run that up to 12 or 13, something like that, but for torch work, braising in the light, you usually don't need it much higher than that. Open the valve a ¼ turn and do it quickly. Attach the hoses to the regulators.
The Instructor Turns The Valves On Cutting Torch Off.Think of the two numbers, 10 and 5. Separately and slowly open the oxygen and acetylene cylinder valves. Remove the covers protecting the tank valves and attach the regulators to the valves.
Open Acetylene Valve On The Torch Handle About ½ Turn C.Slowly add oxygen—flame will sharpen and elongate. The third open valve in the torch, first acetylene after that you can open oxygen valve. Attach the hoses to the regulators.
Holding A Friction Lighter In On Hand Open The Acetylene Valve On The Torch A ¼ Turn, Then Ignite The Gas.At 12 psi for oxygen, you probably had trouble blowing through the edge of the material to get your cut started. •tip sizes and regulator settings are dependent on the thickness of the material to be worked and the type of torch being used. Turn the adjusting screws on each tank out.
Belum ada Komentar untuk "Oxygen Acetylene Torch Gauge Settings"
Posting Komentar